If you are planning to replace a washer at home or get a new appliance, you may know that it is a relatively easy and simple process. Most contemporary washers will be able to safely fit into a 27 to 30 inch wide space either situated between counters or freestanding in the laundry room or basement area. Typically, washers are wired and ready to be attached to existing drainage, water supply, and electrical hookups. However, if you are trying to install a washer where there are no current hook ups in place, it is a way more challenging task. This is due to the fact that you not only have to create space for the new washer, but also do some planning on how to incorporate and install the necessary electrical power, drain lines, and water supply.
Regardless of your situation, having a better understanding of the utility requirements and process will help you to better plan the installation of your new washer.
Before starting the installation process, you should make sure that you have access to some important fundamental things.
- Electricity
Choosing the type of outlet required will depend on the specifications of the washer. Typically, a 120-volt outlet that has ground fault protection is adequate. This will help to provide an additional layer of security against electrical problems, interruptions, and faults.
- Water Supply
Ideally, you should install your washer near to the water heater so that you can tap into the inlet lines and the outlet for both hot and cold water supply.
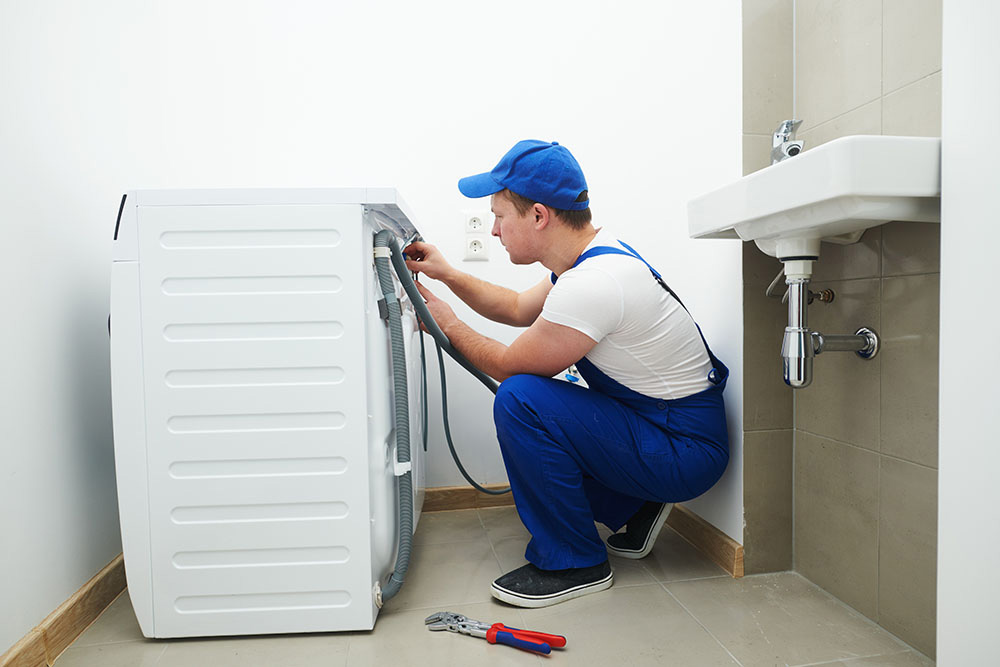
- Drainage
For an appliance like the washer that consumes so much water, it is necessary to have a place to drain the water.
After these three aspects are taken care of, you can then begin the installation process.
Prepare the Area
Before installing the washer, make sure there is enough space for it, whether it is a top load or front load unit. Measure the length and width of the appliance against the area you plan to place it so as to ensure that the two sets of measurements are matched. In addition, ensure that you are close to the lines and outlets you plan to connect to the washer.
Read the Instructions
It is always important to read the instructions thoroughly. Although they may be dense and overwhelming, it is the most effective way to learn about any unique specifications that need to be taken into account during the installation process.
Clean the Faucets
Before you start installing the washer, do run the water through the faucets with a tub or bucket to catch the water. It is important to use both the hot and cold water settings. This helps to make sure that the debris gets flushed away beforehand and will not clog up the washer. After this step is done, shut off the water and turn off the water supply during the entire installation process.
Move the Washer into Place
Slide the washer all the way into the allocated space against the wall. Do remember to leave some room so you can get behind and hook up the necessary wires and pipes.
Check for Leaks
This is a simple step. After you are done with the installation, turn the water supply on again and open the taps. Check that the water is running properly and there is no leakage at the connection points.