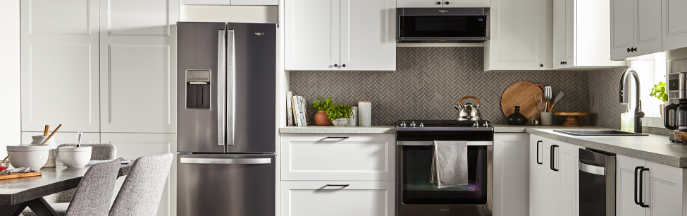
Microwaves are known to be a staple in the kitchen, whether it is a built-in or over-the-range unit. They offer convenience, higher energy efficiency compared to an oven, as well as no residual heat. One drawback was that having microwaves on countertops took up too much space. But every since over-the-range microwaves entered the market, the dilemma no longer exists.
For over-the-range microwaves, there are located at a convenient position and also work as range vents. You will need a microwave that is specially designed for the job, as well as a vent to remove exhaust fumes from the stove. The vent is usually built into the wall, and is extremely easy to install when you are remodeling or building the kitchen. However, if you are an expert at drywall repair, you can also install an appliance in a finished kitchen. In addition, you will also need a cabinet where the microwave hangs from. The cabinet offers good support and also includes the wiring needed for the microwave. It may also include part of the venting.
In most instances, it is not too difficult to install an over the range microwave. However, every house is unique, and many problems can actually arise. One important thing you will need is a dedicated 20-amp circuit that is installed in the cabinet, directly on top of the microwave oven so that the installation is up to code. Here are some installation tips that will help you when you are trying to install your new microwave.
Start with the Instructions
If you are doing it yourself, you should always check the manual for instructions first. Usually, there is a mounting bracket, which will go onto the wall and is meant to hold the microwave. If this is a new fan, you may also have to cut into the wall to create space for the exhaust fan.
Frame the Opening
Most manufacturers provide a template for you to follow when you are making cutout lines on the wall. You can follow the instructions given, and cut through the drywall using either a utility knife or a Sheetrock. Remove the insulation, use lumber to reframe the opening, and fill in any open room outside the frame including insulation. After that, you can go out and cut through the insulation with a grinder tool. You can include markings on the place to cut by using a screwdriver to go through the insulation at the four corners.
Put the Microwave In
The next step is to screw the mounting bracket of the microwave into the new framing. Mount the microwave onto the bracket carefully. Usually, the bracket has a ledge where the appliance can rest as you tilt it backwards to arrange it in the right place. To prevent the unit from tipping forward, the bolts must be screwed through the cabinet and into the top of your microwave. You will need two people to do this job, one to hold the microwave and the other to get the screws in the bolts.