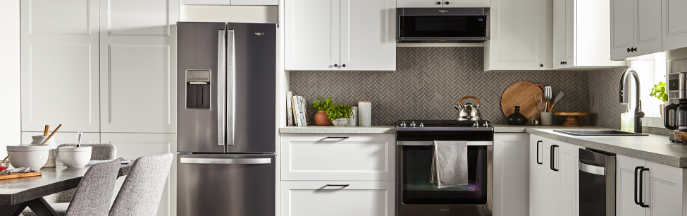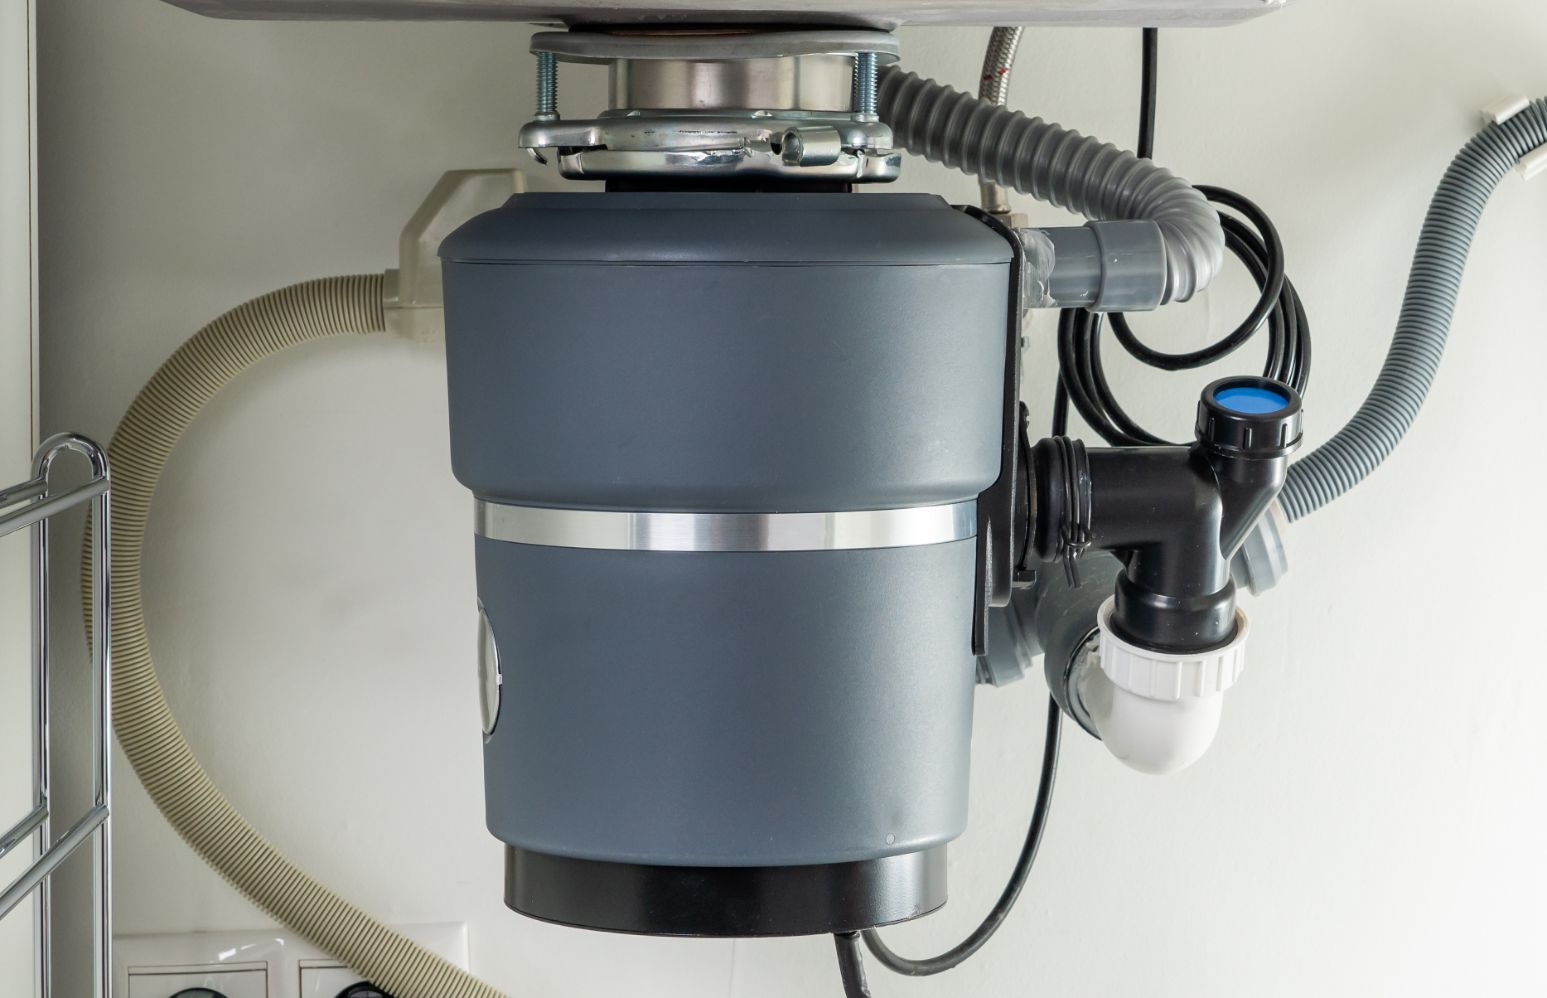
Food disposers make it much easier to get rid of specific types of food waste and help to maintain the cleanliness of your kitchen. Many food disposers usually last for around 12 years, so if this is an appliance you want to have in your kitchen, there is a high likelihood of you replacing it at some point. If you are trying to install a food disposer for the first time, do take note that there will be some necessary plumbing and wire skills.
One tip is to always check with the local codes before trying to install a food disposer. Some communities have plumbing codes that do not allow for food disposers due to the limits of sewer capacity. An air gap may also be needed if the unit is used together with a dishwasher. Regardless, here are some important installation tips that will help to make the installation process easier for you.
Wire the Disposal
It is important to select a food disposer based on its horsepower and size, finding one that matches your household needs.
- Start to install the food disposer by taking out the appliance from the packaging.
- The owner’s manual is important. Read the installation instructions inside thoroughly to identify the wiring colors and disposer parts.
- Disconnect the power at the circuit breaker.
- Identify the cover plate located on the underside of the appliance and remove it.
- If the unit does not come with a power cord, you have to connect it yourself.
- Most disposers and cords have the same colored wires.
Insert the Drain Flange
Many food disposers will need a brand new sink drain flange, which includes a metal disk located at the drain entrance at the bottom of the sink. It also consists of a short length of pipe that will extend below the sink, right where the drain attaches. You can place a heavy item in the sink, such as the food disposer itself, to weight down the flange and prevent it from moving during the installation process.
Tighten Fasteners and Check for any Leaks
- Tighten all the fasteners at mount and plumbing connections.
- Run water into the sink.
- Switch on the food disposer and test for any leaks.
- If needed, tighten the fittings.
You should use a stopper to plug the sink, fill it up with around an inch of water, and check the drain and flange for any possible leakage.
Removing the Old Food Disposer
If you are looking to replace an old food disposer, you will have to get rid of it before installing a new one. One tip is to place a bucket below the pipes before you detach them so as to avoid any spillage.
- Turn off the power at the circuit breakers.
- If needed, remove the mounting assembly.
- Detach the disposer from the mounting ring.
If you follow all the steps and all food disposer parts are working well, installing a food disposer can be a rather straightforward process. As long as the food disposer is used for getting rid of the suggested types of food waste, it will definitely help in making your kitchen look better.